Introduction
Thank you very much for choosing Q-Hawk. We truly appreciate and really hope that you'll get easy to your businessNeed Support?
If you have any questions regarding to Q-Hawk, please submit a ticket at "User complaint" sub menu under Support menu Click hereLogin
To login to the Q-Hawk admin panel, Enter the Username and Password to the respective field as shown in the below images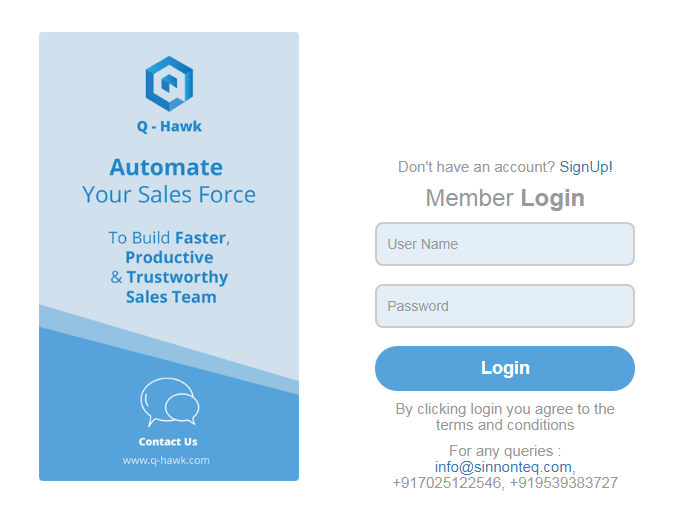
- Enter username provided by the administrator
- Enter Password provided by the administrator
- Click on login button
- After successful login, you are redirecting to Dashboard
Note*
Please contact administrator if you are facing issues while login due to package expiry
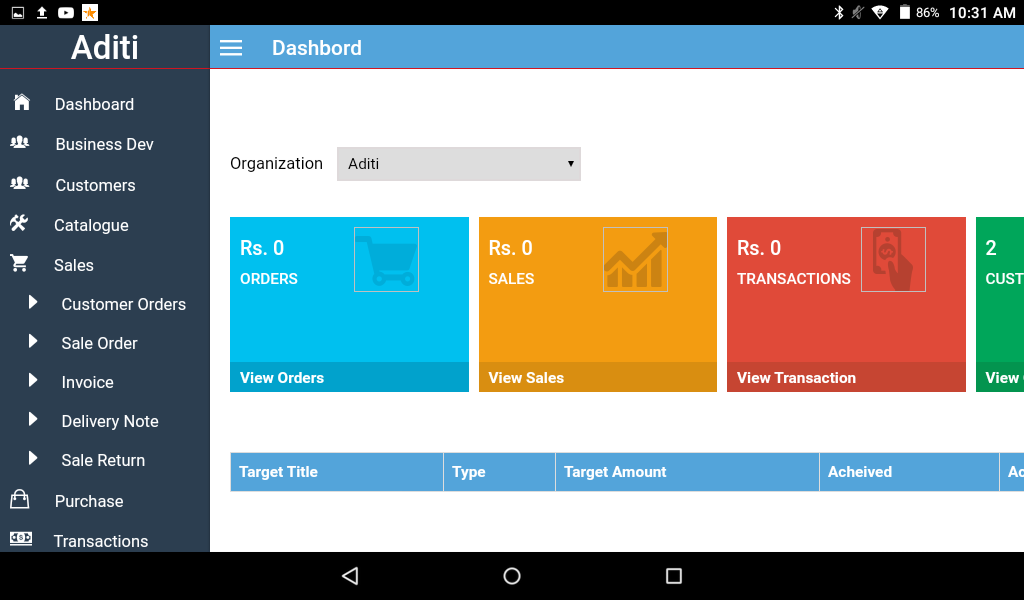
Dashboard
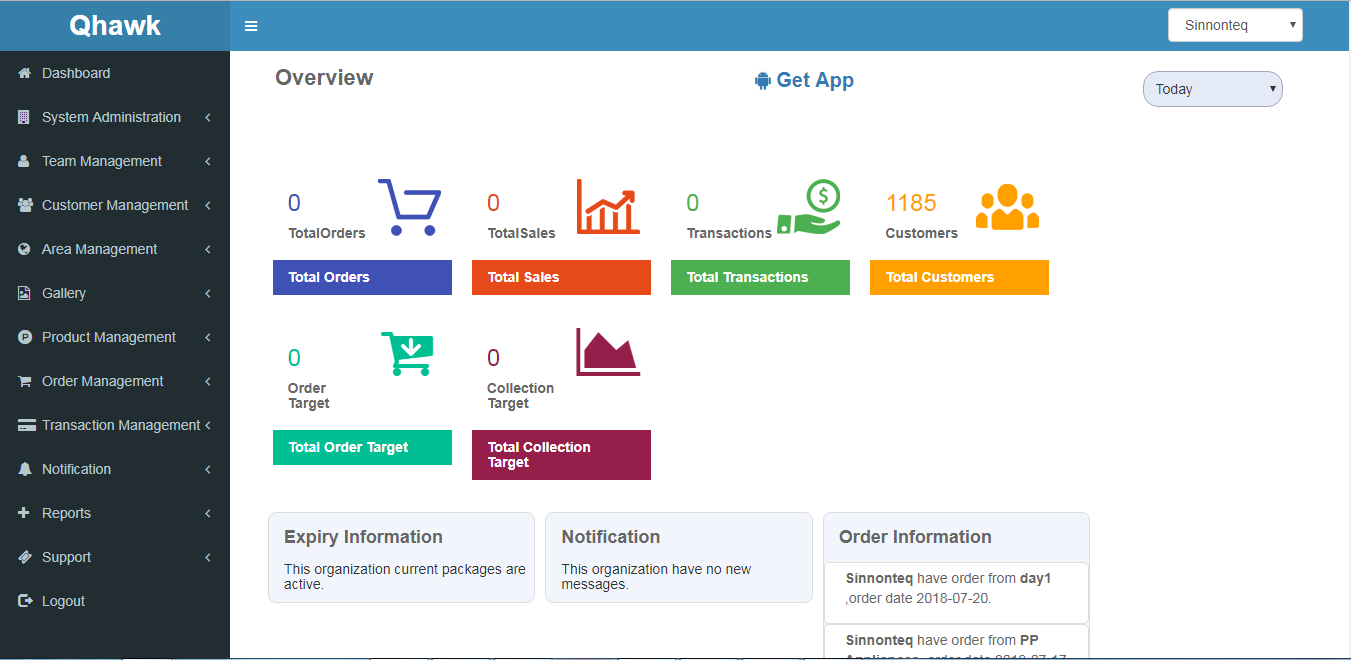
After successfully login to Q-Hawk, you are redirected to dashboard. You can see the summary of the total orders, total sale, transactions, targets etc. From this point we can access all the menus available
Also you can switch the view by last 7 days, last one month and last one year

Get Mobile App Link
Mobile app link for field executives
The mobile app link for the executives can be mailed through this facility available in Dashboard
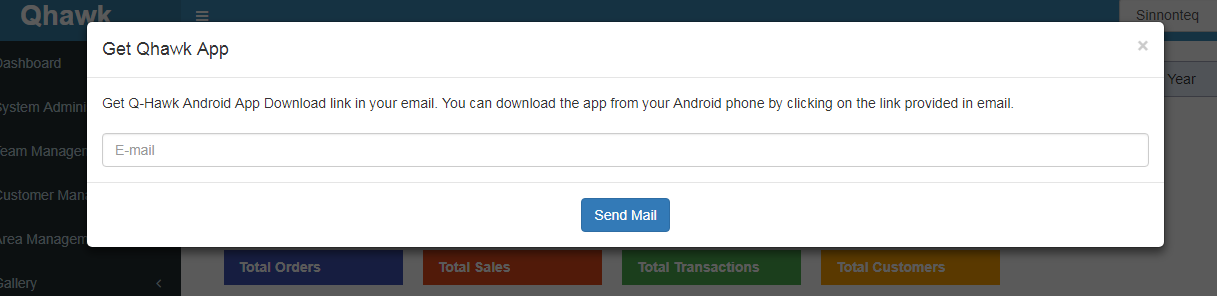
- Click on Get App Button
- Enter the receiver Email address
- Click on Send Mail button
Organization Settings
If you want to update the organization details like address, contact number,email etc and also control the data visibility setting for the organization, use the below mentioned details
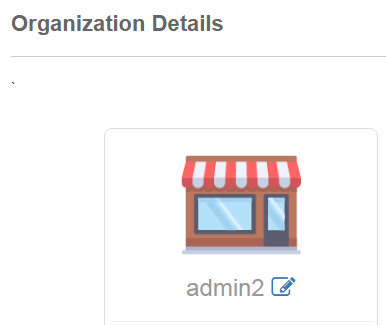
- Go to Organization Admin -> Organization Detail
- Click on Edit button
- Then you can update the organization details and change the data visibility settings
Data Visibility Settings
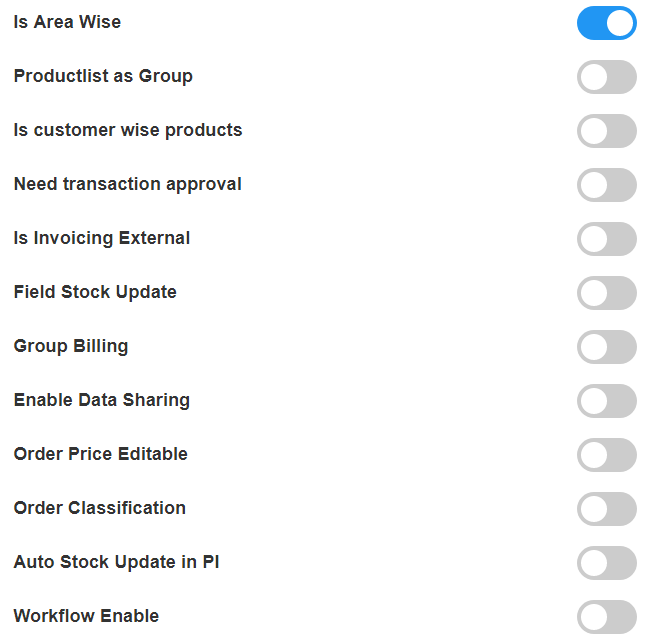
- Is Area wise - Is customer Groups available
- Product list as Group -
- Is customer wise products -
- Need transaction approval - Need any approval for receiving money collected by field staff
- Is Invoicing External - Invoices are generated within Q-Hawk or From another sources
- Field Stock Update - Do you want to update Stock while taking customer order
- Group Billing - Product group wise billing
- Enable Data Sharing - Do you need data sharing?
- Order Price Editable - Do you want change product price during customer order?
- Order Classification - Order Classification
- Auto Stock Update in PI - Do you want to update the stock automatically when getting purchase invoice, without manual confirmation
- Workflow Enable - Do you need any approval process in order fulfilment?
- Stock checking for confirm order- Do you need customer order approval only have sufficient stock?
- Stock Availability - Do you need to check stock availability during Taking customer order?
- Order Taking Location Capture- Do you need to capture the current location while taking customer order?
- Order Taking Location Capture Distance- Checking customer location with the current location
Create New Brach
If you are running multiple business or having multiple branches, then you can manage all these by adding new branches in Q-Hawk
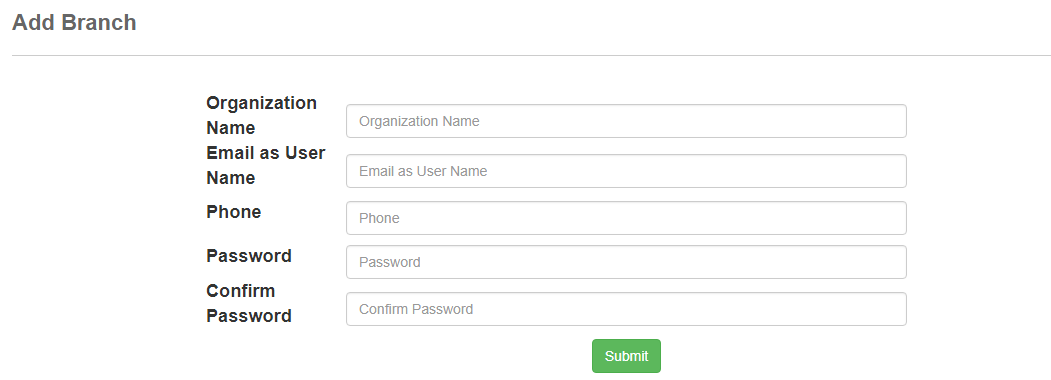
- Go to Organization Admin -> Organization Detail
- Click on "New Branch" button
- After applying necessary informations and click on Submit Button
Note -The username and password should be noted for login to the branch
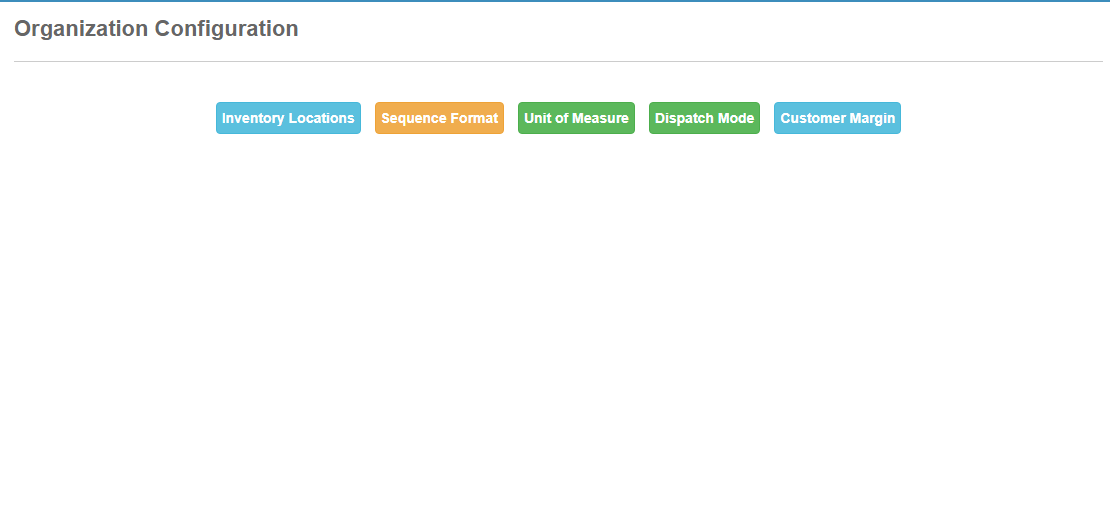
Org Configurations
You can manage your inventory locations, invoice format, UOM, Price Level management etc here
- Go to Organization detail-->Organization Configurations
Inventory Locations
You can mange the inventory locations here by adding the inventory details. This is helpful during Purchase and Sale return.

- Click on Inventory Locations
- You can see the Inventory locations list on that page if data present
- Click on "Add Location" button for adding new location
- Enter Inventory location Name and tap on "Submit" button
Sequence Format
You can mange the sequence for the Invoice generation,Quotaion and Sale return.
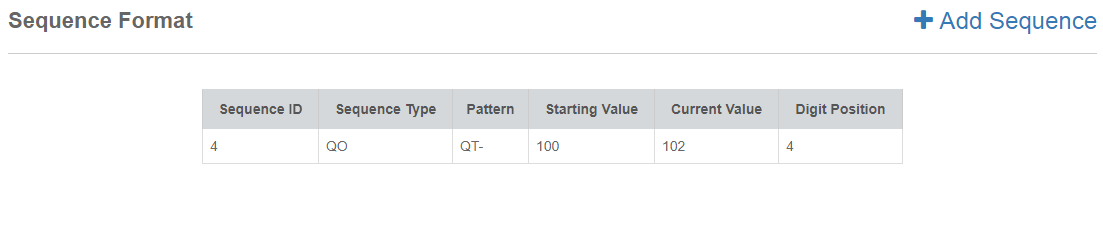
- Click on Sequence Format
- You can see the added sequence list on that page if data present
- Click on "Add Sequence" button for adding new Sequence
- Choose the Sequence type
- Enter Sequence Pattern for eg: INV-
- Enter starting value for Eg:100
- Enter digit position for eg: 3. Then you can get the sequence format like INV-100.
- Tap on Submit button.
Unit Of Measure
You can mange the Unit of Measure here

- Click on Unit Of Measure
- You can see the added UOM list on that page if data present
- Click on "Add UOM" button for adding new UOM
- Enter UOM code and Description
- Tap on Submit button.
You can share the UOM for your branches by click on Share All Button
Dispatch Mode
You can select the dispatch mode by creating Customer order if adding the dispatch mode here
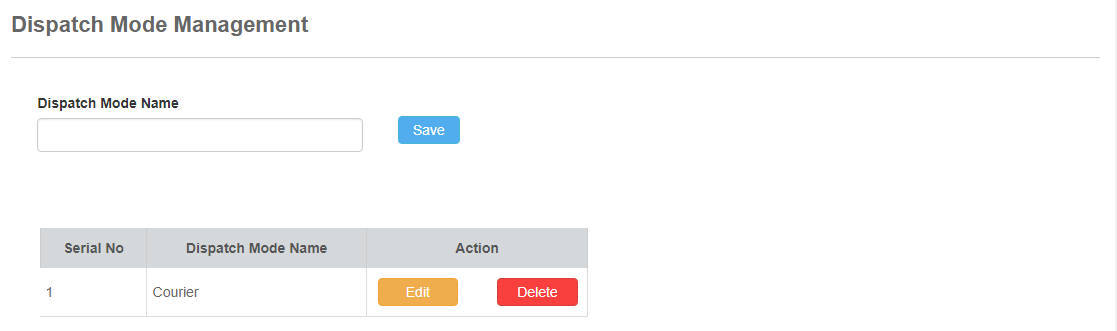
- Click on Dispatch mode
- You can see the added Dispatch mode list and also enter the dispatch name here
Customer Margin
If you are managing the supply chain within Q-Hawk or your customers also using Q-Hawk for their use, then you can set Selling price for the customers here. You just enter the margin value here and the customers can sell your product on that margin
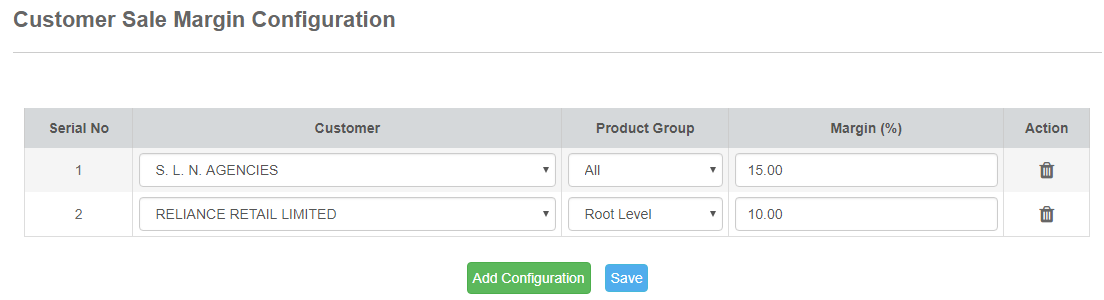
- Click on Customer Margin
- For adding customer margin for a new customer click on Add Configuration button
- Select your customer from Dropdown
- Choose the product group for applying the margin - Select "All" for applying margin to all product group
- Enter margin value
- Tap on Save button
User Role
You can manage your staffs in different role also in heirarchial manner. Org Admin, General Manager, Executive are the built in role Q-Hawk. You can add more roles like Area manager, Delivery manager, Store manager etc here.
Add User Role

You can control the menu visibility of users by creating new user roles. You can select the menu items which are visible to the user role.
- Click on Add user link
- Enter Role name and description
- Click on Submit Button
- Then you are redirect to menu selecting window
- Click on appropriate Read - Write permission Check boxes
- Click on Submit button
Created User roles can be viewed in List User role page

User Role Heirarchy
User role heirarchy can be set by selecting parent role for each user role. After selecting the parent role click on Save changes button to save the user role heirarchy
Add Users
You can control the menu visibility of users by creating new user roles. You can select the menu items which are visible to the user role.
Create New Customer Order
1. How to create Customer order From Mobile App
1. Go to Sale -> Customer Order Submenu
2. Click on Create new order link present on top right side
2. Then you are redirect to Create new order page
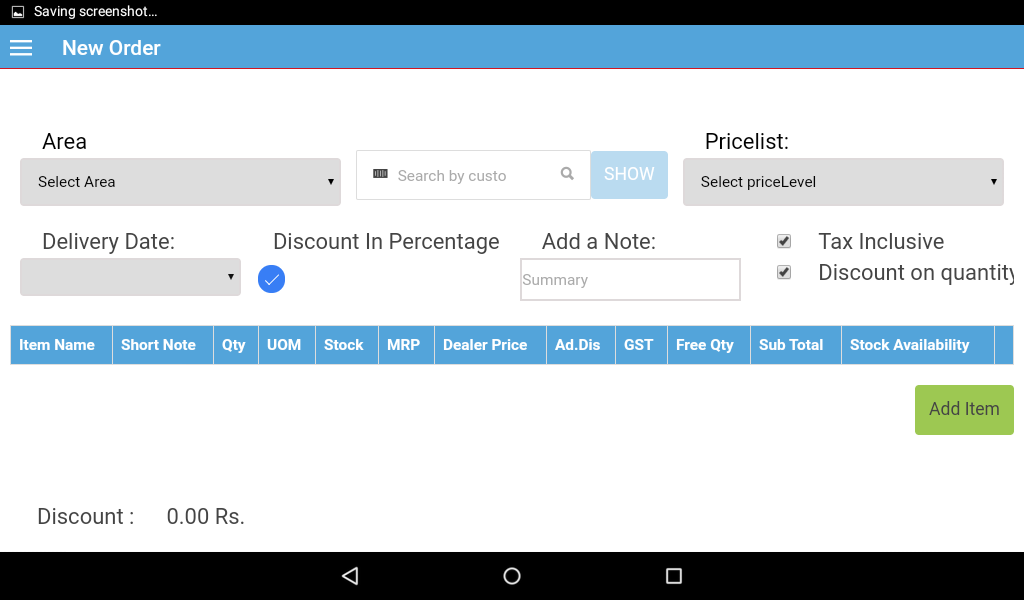
For creating new order
- Select Area from dropdown
- Then search for customers
- If the selected customer has assigned any price list, that will automatically selected in the dropdown. Otherwise you can select the pricelist if necessary.
- Choose delivery date if needed
- Normally the discount applied to the product calculated as in percentage, you can change if needed
- You can enter any notes related to this order in Add a note textbox
- You can enter any notes related to this order in Add a note textbox
- Tax inclusive field is based on organization settings, you can change if needed
- If you are giving discount in quantity basis you can check the "Dioscount on quantity" checkbox accordingly For adding items to the order
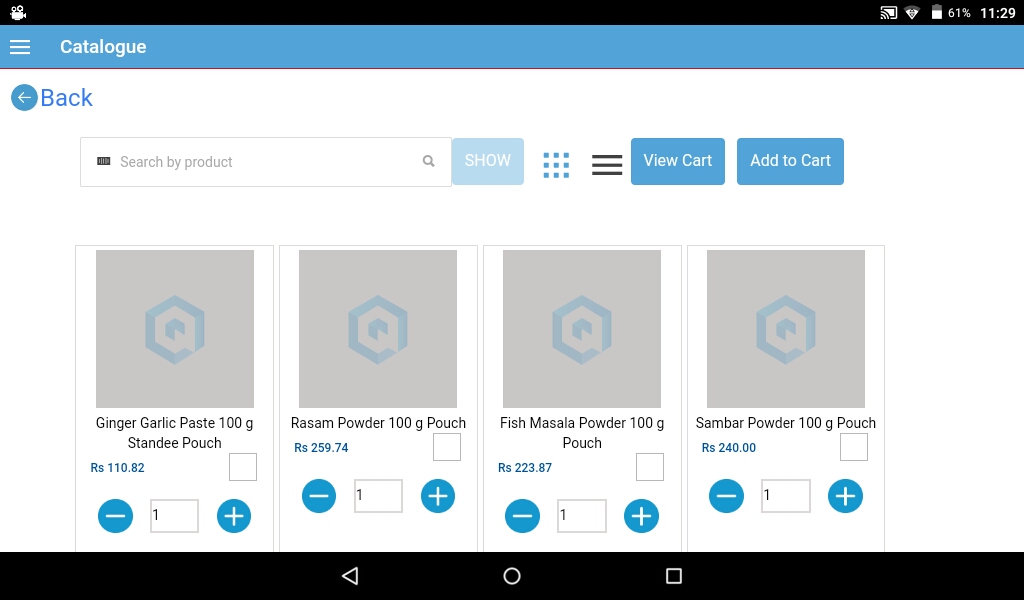
- Click on Add item button. It will redirect to catalogue. There you can search products or navigate to product groups then to products. Select the product you want to add tothe order by click on check box. After selecting all products click on "Add to Cart" button. For return to create order page click on "View cart" button
- Click on save button. Then you are successfully create a new Customer order
2. How to create Customer order From Admin Panel
1. Go to Sale -> Customer Order Submenu
2. Click on Create new order link present on top right side
2. Then you are redirect to Create new order page
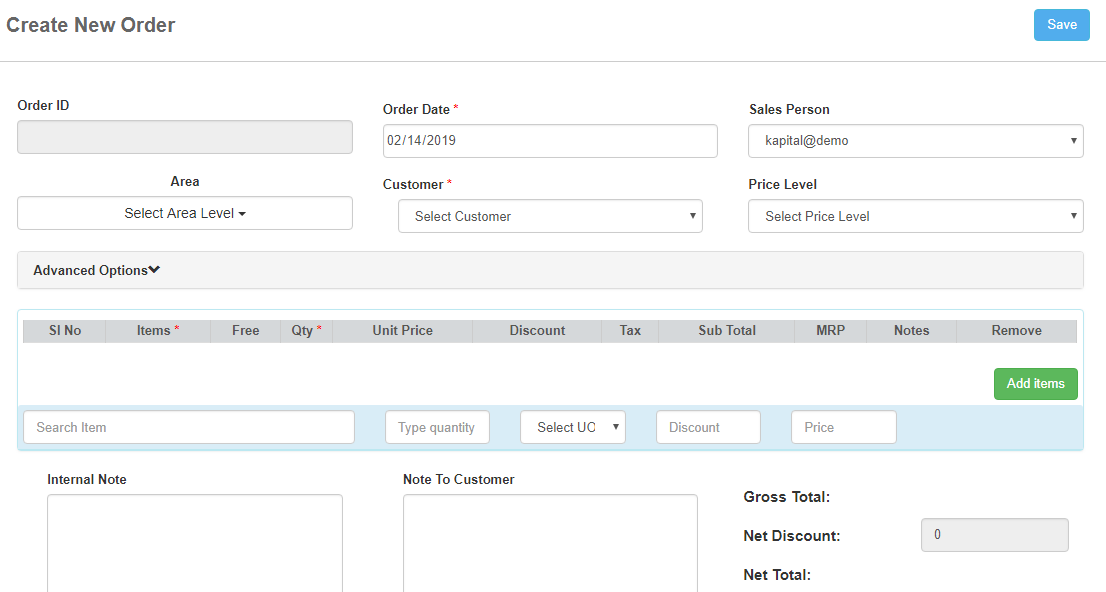
Note
1. Please fill mandatory fields like Date and Customer name before Add items
2. You can use either enter key or mouse for all operation
3. You can enter notes to the customer and internal notes seperately
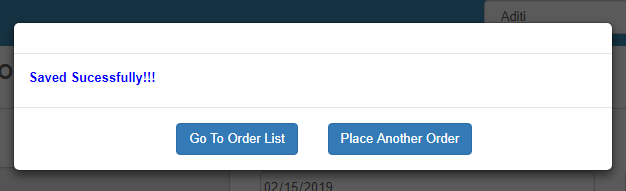
4. After saving the customer, you can choose to go to the list view or create next new customer order
Confirm Customer Order
After creating new customer order, you can Partially or fully confirm that customer order based on your stock availabilit and other factors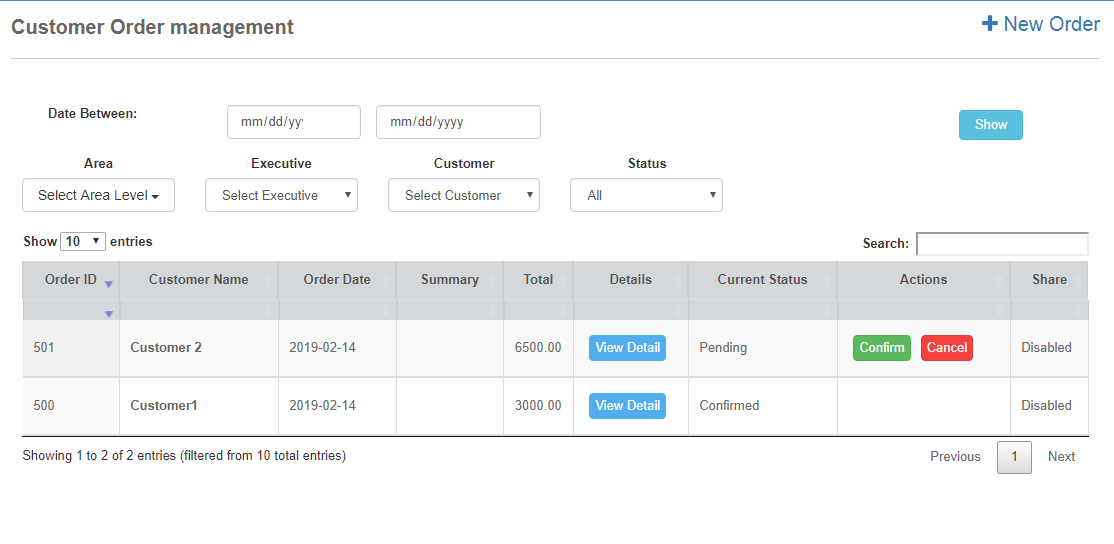
1.) All orders in one place
- Customer order taken from Executives using mobile application can be viewed in this list
- Order from external sources like Ecommerse etc will also display here
- Order taken from admin panel users also listed here
Payment collection
Field staff can collect pending bill amount from customers using mobile app.
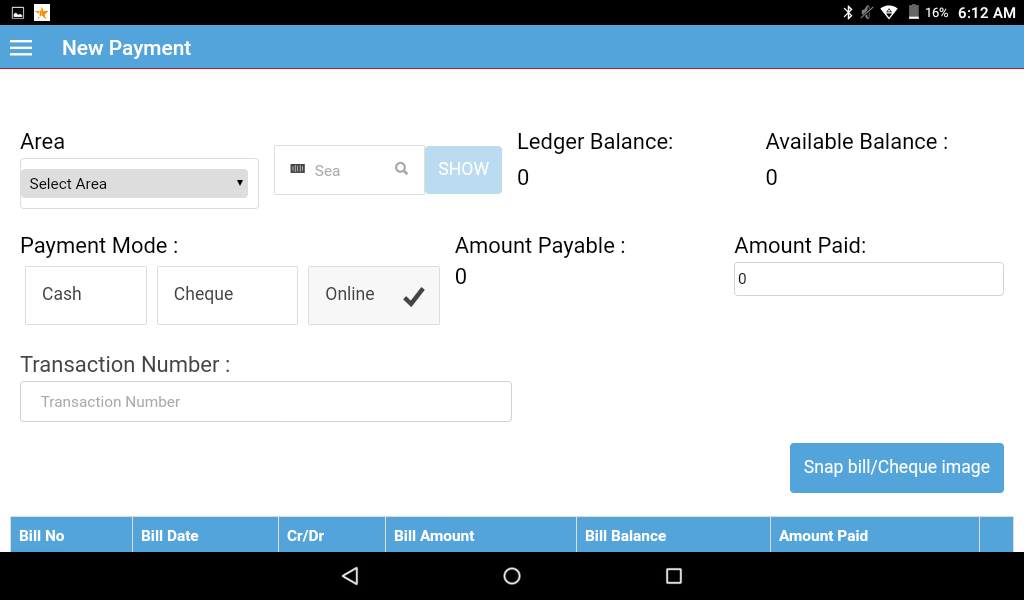
- Go to "Transactions" main Menu
- Click on "Create New Transaction" link present on top right side
- Then you are redirected to payment collection page
- Select the area of customer you want to collect money
- Search customer name and pick the right customer name
- After selecting the customer name pending bills are loaded.You can see the ledger balance of customer and amount payable after that.
- Select the payment mode like Cash, Cheque, and Online. If it is a cheque, enter cheque details and if an online transaction, enter transaction number
- Then enter the amount paid by the customer
- There is a provision to record the signature of customer
- Then click on Save button
Purchase Order
How to create Purchase order From Admin Panel

- Go to Purchase---Purchase Order Submenu
- Click on New Purchase order link present on top right side
- Then page redirect to Create purchase order

- Then Select Vendor listed from dropdown
- Fill the fields like Date and purchase order number
- Add items to purchase from supplier
- If any notes to supplier enter the remarks column
- Chose the option save or confirm on top right side
- While saving the order, Go to the list or Place another order option appears
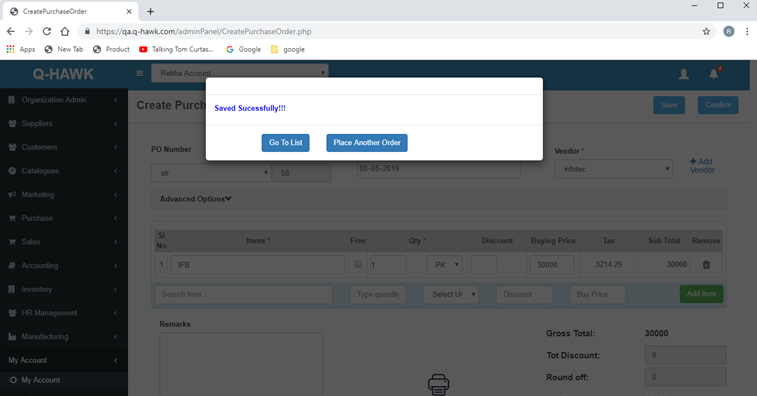
- You can create a new order by click on Place another order button or go to list view of purchase order by click on Go to List button
- From Purchase Order List page you can click on Edit button for furthur modification of that paurchase order
- For Confirm the purchase order, click on confirm the present in edit window
- If the vendor is from Q-Hawk itself, the confirmed Purchase order converted as a customer order for the vendor
- If you want Print of that purchase order, Clikck on Edit button, then click on Print icon present on bottom middle
Create Purchase Order From Customer Order

- Go to purchase order -> click on New PO link present on top right side
- Click on Advanced option present on create purchase order window
- Select customer order from the dropdown
- Then selected customer order itmes loaded in this window
- You can change it accordingly
- Then Save or Confirm the Purchase Order normally
- Note:Balance quantity of customer order is display when choose the customer order next time. ie, if there is no item pending for PO related to the customer order, no items displayed for that customer order